I've used a picture of a dragon dance to begin my editing.
First, I use my Photoshop CS4 to open the picture.
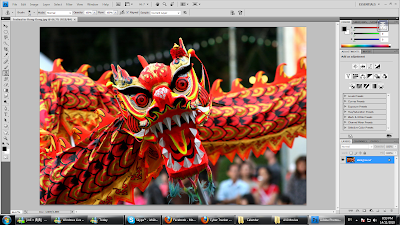
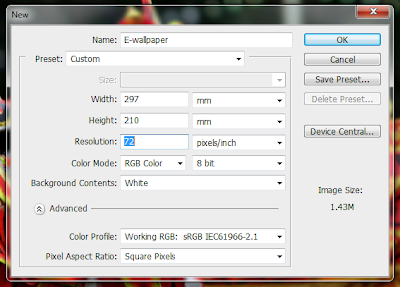
This picture will be one of my E-Wallpaper layers. So, I'll need to create a new PSD file to edit this picture. I shall name it "E-Wallpaper" with a lanscape A4.
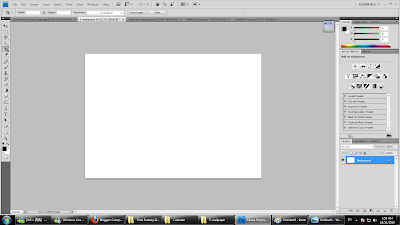
After creating a new file, I'll have to copy the picture over to the new board. I just press the Ctrl + A buttons which indicates "select all" of the picture and I press the Ctrl + C buttons which stand for the "copy" option. Then I move over to the E-Wallpaper board and press the Ctrl + V buttons to paste the copied picture.

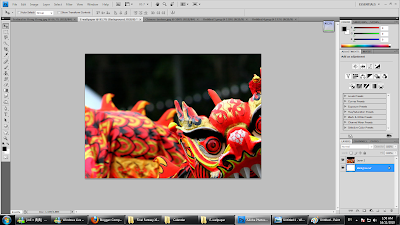
Now, the picture I copied over is probably too large for the E-Wallpaper board. So I'll have to re-size it by hitting the Ctrl + T buttons which is the Free Transform option. Then I hold the Shift button while I minimize the picture so that the picture would not change it's height and width. When I'm done I just hit the Enter button to accept the changes.

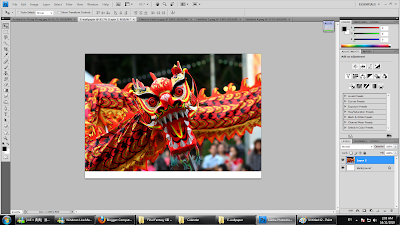
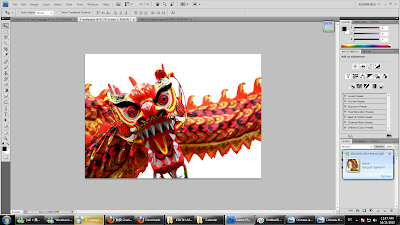
Well, the picture doesn't exactly fit the the board perfectly but I will re-size it later on. But now I will remove the background using the Eraser Tool.
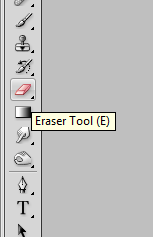
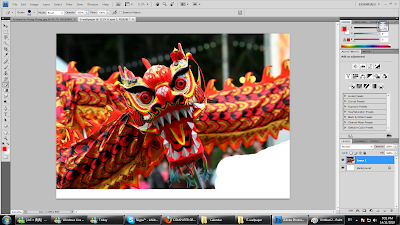
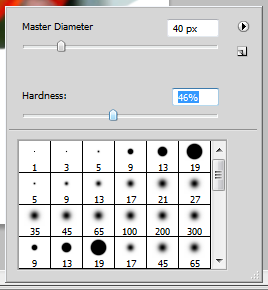
The smaller areas are a bit tricky to erase with a large diameter, so I'll have to adjust the size of the eraser by right-clicking to show the menu. I can also adjust the hardness of the eraser so it wouldn't make the eraser too solid while erasing.
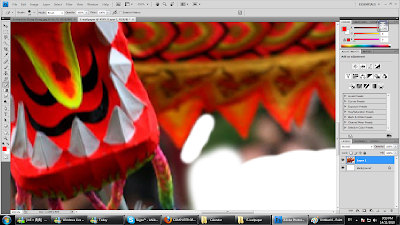
After some time, I'm done removing the background and the dragon is all that's left. And now I need to enlarge it again. I just repeat the steps I did before by pressing the Ctrl + T and pressing Shift while I enlarge the picture and press Enter when I'm satisfied.
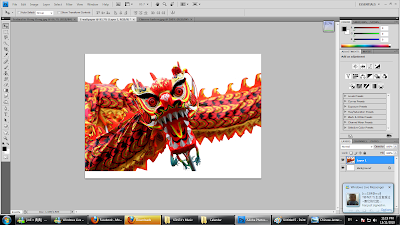
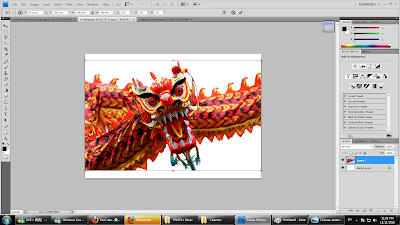
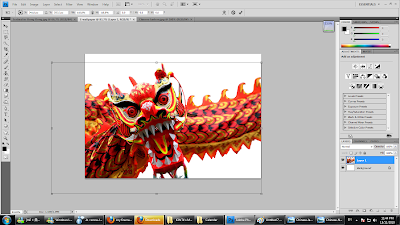
There, this is the size I wanted. This is just one of the layers I'm going to use for my E-wallpaper.
To be continued...
No comments:
Post a Comment