hand-made products which also involves me in this business.
When I say simple, I really mean "SIMPLE" in which the picture will only go through a few tweaks.
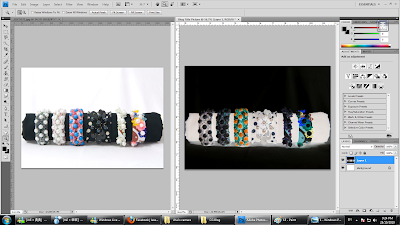
1. I open up 1 of the product photos to begin with. Lets see, some wrist bands would be nice.

2. Okay, now I need another A4 size board so I can mount a copy of the picture I just selected to compare as I edit.
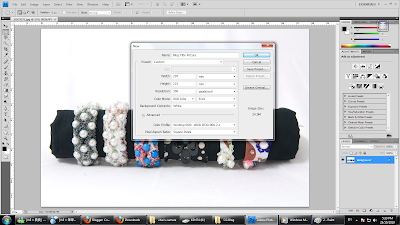
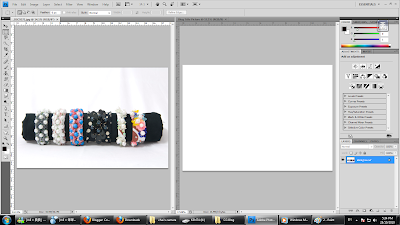


3. Now I have to get rid of both sides of the picture on the left because if I actually just copy it over to the right it wouldn't fit correctly. Since I won't effect the product as I cut the excess sides, I could use the "Crop Tool" to do so. Now, I need it to fit onto that A4 size board. So I'll set the height and width of the size want to crop so I can easily adjust the measurement.


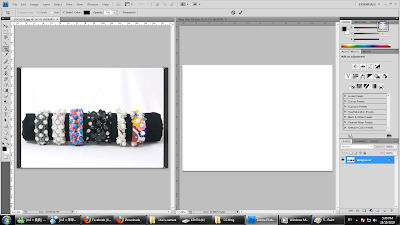
4. Now that I cropped it, I need to make a copy of it on the right. So I select the "Marquee Tool" to highlight the whole picture or I could just hit the Ctrl+A buttons which is to select everything. Then I hit the Ctrl+C buttons which is to copy and I go to the board on the right and paste it by hitting the Ctrl+V buttons. Then I resize the copy to make it smaller and to fit the board perfectly. There, nice and easy.


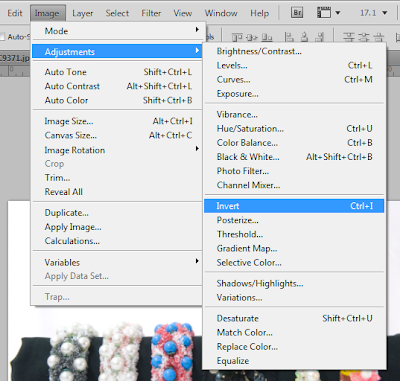
5. When I'm done, I had an idea of inverting the picture so that the black cloth could turn white and show more contrast. So I clicked on the "Invert Option" and there we go. See the difference?


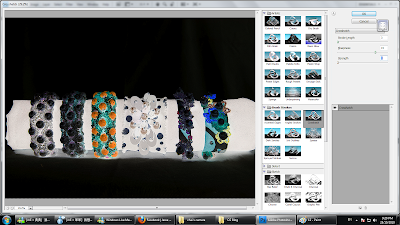
6. Well, I'm still not very satisfied with my work. So I think I'll add some effects to the picture. Lets try filtering it. Since I need a wide selection of effects, I might as way click on the "Filter Gallery" option. Crosshatch would be nice.

7. Now that I'm satisfied with the picture, I can go on and save the picture. "JPEG" type file with a 3 point quality would do just fine because the picture resolution is quite high as you can see if I set it to 12 it will consume 9.1 megabytes of space.


8. There, I'm done. This is what it looks like. Nice and simple. Hope you like it. Although the products are still all-rights-reserved by my sister.


No comments:
Post a Comment